The weather the past two weekends has been good enough to take the robot out for some testing with the new RTK GPS system. The Ardusimple boards are pretty awesome. The things I like about them:
- It is plug and play with the Pixhawk (mostly).
- It is configured to automatically survey in the base location. This means you don’t have to mess with U-Center and configure it out of the box, unless you want to plug in specific coordinates.
- The long range radios I ordered mean you don’t have to mess with injecting the RTCM data stream through telemetry, although I will eventually attempt this.
Those things I like are huge. A few minor things I didn’t like:
- The connector on the board is technically the correct Pixhawk connector, a JST-GH 6 pin connector. Which is great, but every Pixhawk I’ve seen has DF13 connectors. So I had to buy an adapter cable.
- And then I had to mod the adapter cable because apparently the pinouts are inverted between the DF13 and JST-GH connectors. Frustrating.
- The antenna choices offered by Ardusimple included a nice IP65 antenna and a unenclosed one. Initially I wanted the IP65 antenna, but then realized it came with a 5m (!) long cable. Where are you supposed to store 15ft of wire on a robot like this? So I went with the unenclosed version with a 10cm long cable.

Once you tweak the adapter cable, you can plug it in to your Pixhawk and get RTK positioning in no time flat! Very awesome. No need to even tweak anything in mission planner. It will interpret RTK float and RTK fixed messages from the rover module.
To set up a base station, I grabbed my charcoal grill, a micro USB DC adapter, and an extension cord.

And it worked pretty well until the rover tried to ram it in auto mode. Not cool, robot wheelchair. Not cool.
Another issue is that my backyard is a crappy GPS environment. It was pretty easy to get an RTK fix when stationary, but in motion losing one or two satellites was enough to bump back to RTK float. Bummer!
So to fix these two issues I moved the base station to my front yard which had a better view of the sky, and mounted the unit on the roof of my car, which I’ve heard makes an excellent ground plane. Whoever said that is right.
This was quite an improvement. I was able to run autonomous missions while maintaining an RTK fix for 80%+ of the time in the back yard.
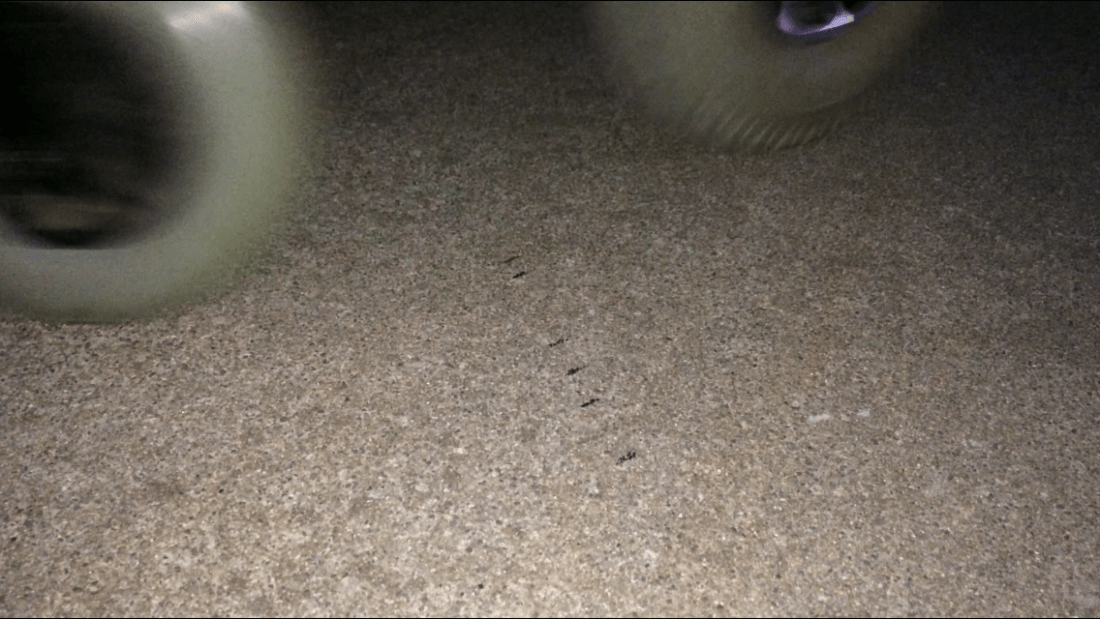
I had the robot run an autonomous mission in circles in my driveway and the repeatability was still pretty good. The tick marks on the drive way indicate the position of the side of the front caster through each pass. The distance between the furthest two tick marks is 5in.
Overall, the Ardusimple boards are looking like a very good investment.

Your rover looks great.
I also pay attention to the RTK ardusimple module that you are using. Do you know ESPrtk? You can combine ESPrtk with F9P to apply the NTRIP transmission system to your Rover. If you are interested in using ESPrtk, I will provide you with 2 free activation files that you can use with your F9P.
See more here: https: //esprtk.wordpress.com/
LikeLike